
KNOW MORE
Light Up the Night: Best Practices for Snowshoeing & Winter Hiking
Winter transforms familiar landscapes into serene, snow-blanketed wonderlands. Snowshoeing and winter hiking offer a unique way to embrace the quiet beauty of the season. However, with daylight hours cut short, many adventures extend into the twilight or begin before dawn. Proper lighting isn't just an accessory—it's a critical safety tool that ensures you can navigate safely, manage emergencies, and fully enjoy the magical atmosphere of a winter night.
This guide will illuminate the best practices for choosing and using lights on your snowy treks, helping you see and be seen in challenging winter conditions.
Why Winter Lighting is Different
Winter presents unique challenges that your summer trail-running headlamp might not handle:
Shorter Days & Faster Sunsets: Your hike will likely end in the dark.
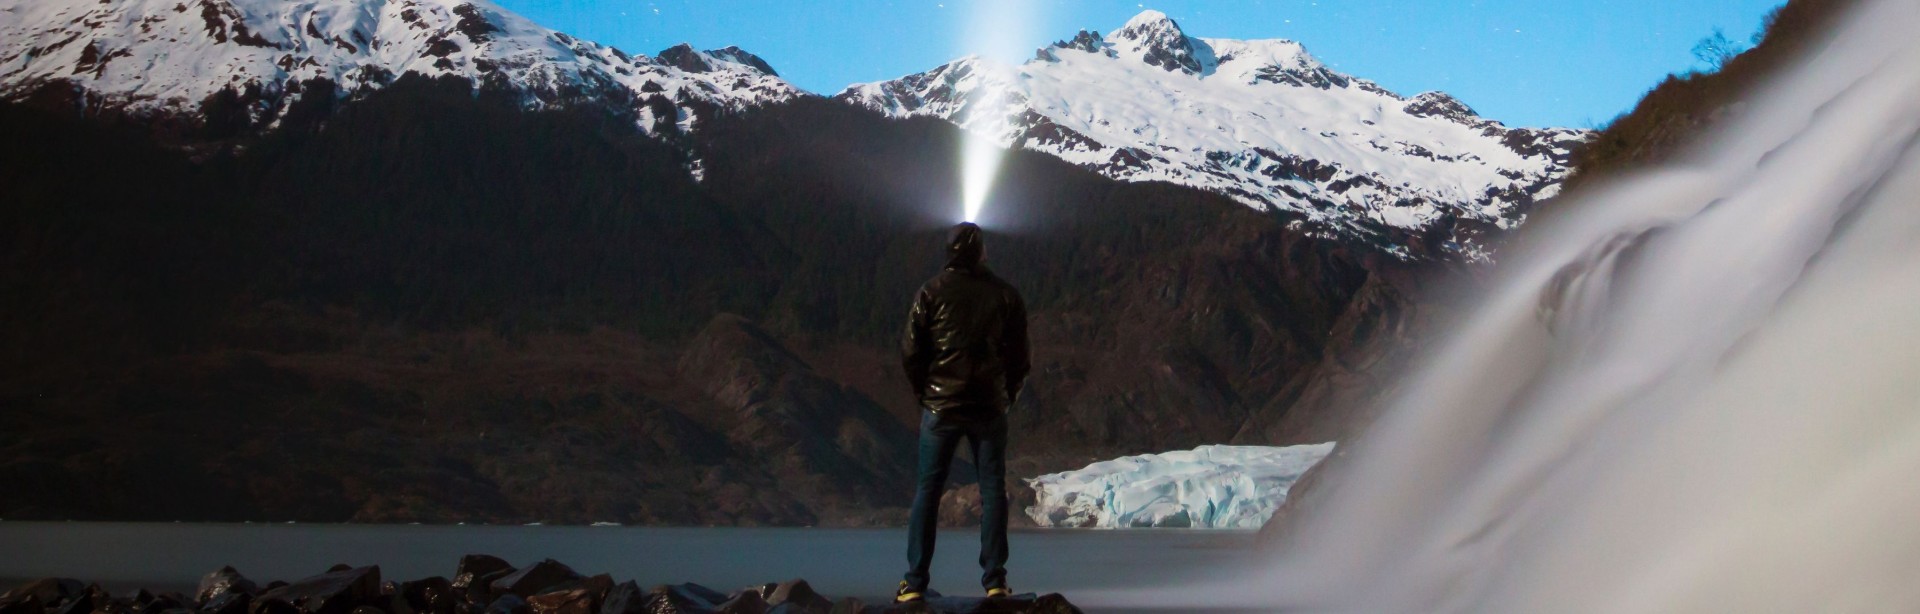
Snow Reflection & Glare: Bright, unfocused light can cause blinding glare off snow, reducing visibility.
Extreme Cold: Batteries drain significantly faster in freezing temperatures.
Weather Exposure: Lights need to withstand snow, moisture, and potential drops in cold, brittle conditions.
Hands-Free Imperative: You often need poles for balance and safety, making hands-free lighting essential.
Your Essential Winter Lighting Kit
1. The Primary Light: A Robust, Winter-Ready Headlamp
Your headlamp is your most important piece of lighting gear. Look for these features:
High Lumens with Adjustable Modes: You need a powerful beam (250+ lumens) for trail-finding, but also lower, energy-saving modes for established paths and a red light mode to preserve your night vision and avoid blinding companions.
Wide and Spot Beam Combo: A adjustable or hybrid beam pattern is ideal. A spot illuminates the trail ahead, while a flood (wide) beam helps with map reading, close-up tasks, and peripheral vision in camp.
Cold-Weather Battery Performance: Use lithium batteries for primary lights, as they perform far better in freezing temps than alkaline. For rechargeable headlamps, keep a spare battery in an inner pocket to keep it warm.
Waterproof & Durable (IPX4 or higher): It must withstand falling snow and wet conditions.
Pro Tip: Test your headlamp with your winter hat and hood to ensure a secure, comfortable fit and that the beam isn’t obstructed.
2. The Backup Light: A Reliable Handheld Flashlight
Always carry a secondary light source. A handheld flashlight serves multiple purposes:
Critical Backup: If your headlamp fails, this is your lifeline.
Supplemental Lighting: Use it to spotlight specific terrain features, signal, or check maps without moving your head.
Durability: Choose a tough, waterproof model. A flashlight like the EverBrite Trailblazer Pro is built for extreme conditions and offers multiple outputs for versatility.
3. The Safety Beacon: A Blinking Strobe or Taillight
Visibility to others is crucial, especially near trails that may intersect with cross-country ski tracks or in low-visibility conditions.
Attach a small, blinking red light to the back of your pack. This makes you highly visible to any group members behind you or others sharing the trail in the dark.
Best Practices for Lighting on Snowy Trails
Start Early, Conserve Power: Turn your light on before it gets too dark to see naturally. Start on a lower setting to conserve battery.
Manage Glare: Angle your headlamp beam slightly downward to minimize direct glare off the snow immediately in front of you. The adjustable tilt on many headlamps is key here.
Use the Right Mode for the Task:
High/Spot: For breaking trail, navigating tricky terrain, or in heavy snowfall.
Medium/Flood: For steady walking on packed trails.
Low/Red: For taking breaks, adjusting gear, or preserving night vision while stargazing.
Keep Spares Warm: Store spare batteries (or a spare power bank for rechargeables) in an inner jacket pocket. Your body heat will prevent them from draining prematurely.
Group Hike Etiquette: When hiking with others, avoid shining your brightest beam directly into the eyes of those in front of you. Communicate when you’re about to look back at the group.
Gear Spotlight: Lights Built for Winter's Challenge
When selecting lights for winter, durability and reliability are non-negotiable. Look for features like:
IP67 or IP68 Ratings: For full dust and waterproof protection.
Rubberized Grips: For use with gloves.
Easy-to-Use Buttons: Designed to be operated with thick winter gloves on.
Robust Construction: To survive drops onto hard, frozen ground.
Explore our curated selection of winter-worthy lighting gear, designed for adventurers who don’t let the cold dim their spirit:
Conclusion: See the Magic, Stay Safe
The right lighting transforms a winter night hike from a daunting prospect into an enchanting experience. It reveals the sparkle of frost on trees, the crisp details of animal tracks, and the serene stillness of a snowy forest under the stars. By preparing with the proper lights and knowledge, you ensure that your focus stays on the beauty around you, not the darkness at your feet.
Light your path, respect the winter environment, and discover the unforgettable adventure that awaits after sundown.